In the ever-evolving landscape of Call of Duty: Modern Warfare 3's Zombies mode, the introduction of the Bad Signal mission marked a pivotal moment for dedicated players. As of 2026, this quest remains a cornerstone of the endgame experience, serving as the gateway to the treacherous Dark Aether zone. This new realm isn't just another battlefield; it's a crucible designed to test the mettle of seasoned squads, offering some of the most coveted schematics and powerful gear in MWZ. But what does it truly take to brave this otherworldly storm and emerge victorious? The journey is one of meticulous preparation, coordinated execution, and a climactic confrontation with a creature of nightmares.
Preparing For The Ultimate Challenge
Upon launching into Urzikstan, the Bad Signal mission stands ready, a siren call from the ominous Aether tornado in quadrant F6. While no prior story progression is required, this is not an invitation for the faint of heart. The mission is explicitly balanced for a squad of 3-6 players equipped with endgame gear. Attempting it solo is a feat of extreme difficulty, a testament reserved for the most skilled and prepared operators. Why risk it alone when coordination is key? The mission culminates in a mandatory, punishing worm boss fight, making loadout optimization not just a suggestion, but a necessity for survival.
A successful incursion demands the right tools for the job. Consider this your essential checklist:
Essential Gear & Loadout:
| Category | Recommendations | Purpose |
|---|---|---|
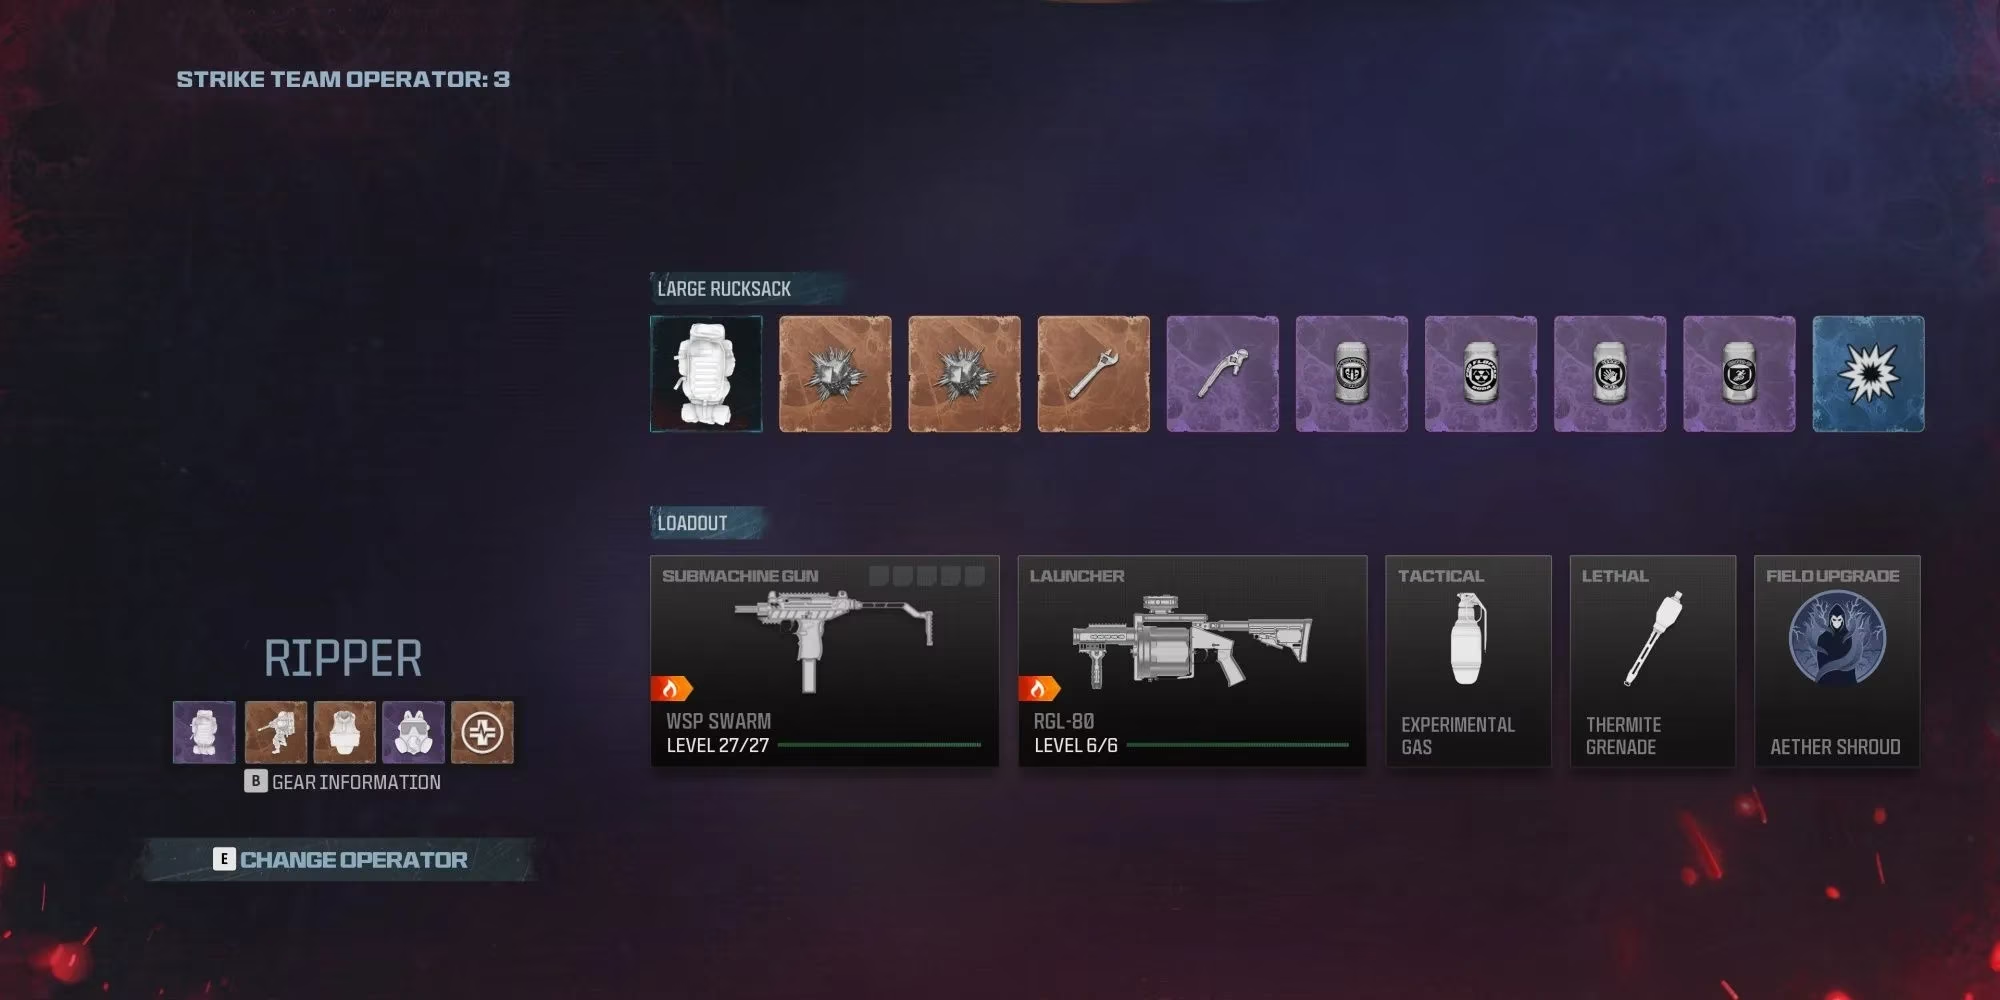
| Armor & Utility | T3 Armor Vest, T3 Backpack, 3x Self-Revive Kits, Sentry Guns (for area control) | Maximizes survivability, ammo capacity, and provides automated defense. |
| Tacticals | Decoy Grenades (Squad) / Gas Grenades (Solo), Thermite Grenades | Decoys group zombies for seal charging; Thermite is excellent for boss DPS. |
| Primary Weapons | - Akimbo WSP Swarm (High close-range DPS) - Akimbo Tyr with Snakeshot (Devastating power) - RGL-80 (Explosive crowd control) - Any LMG (Sustained fire) - Lockwood 680 with Slugs (Precision damage) |
Weapon choice depends on playstyle, but high damage output is critical. |
| Perks | Jugger-Nog, Quick Revive, Stamin-Up, Deadshot Daiquiri, Speed Cola, PhD Flopper | A full suite of perks is non-negotiable for enhanced health, speed, and damage. |
Investigating The Anomaly
With your squad geared up, the real work begins. The massive, swirling anomaly in F6 is your destination. Before interacting with the strange triangular portal frame, do a final check: is everyone stocked on plates and ammo? Are you mentally prepared for Tier 2 zombies and a colossal worm?
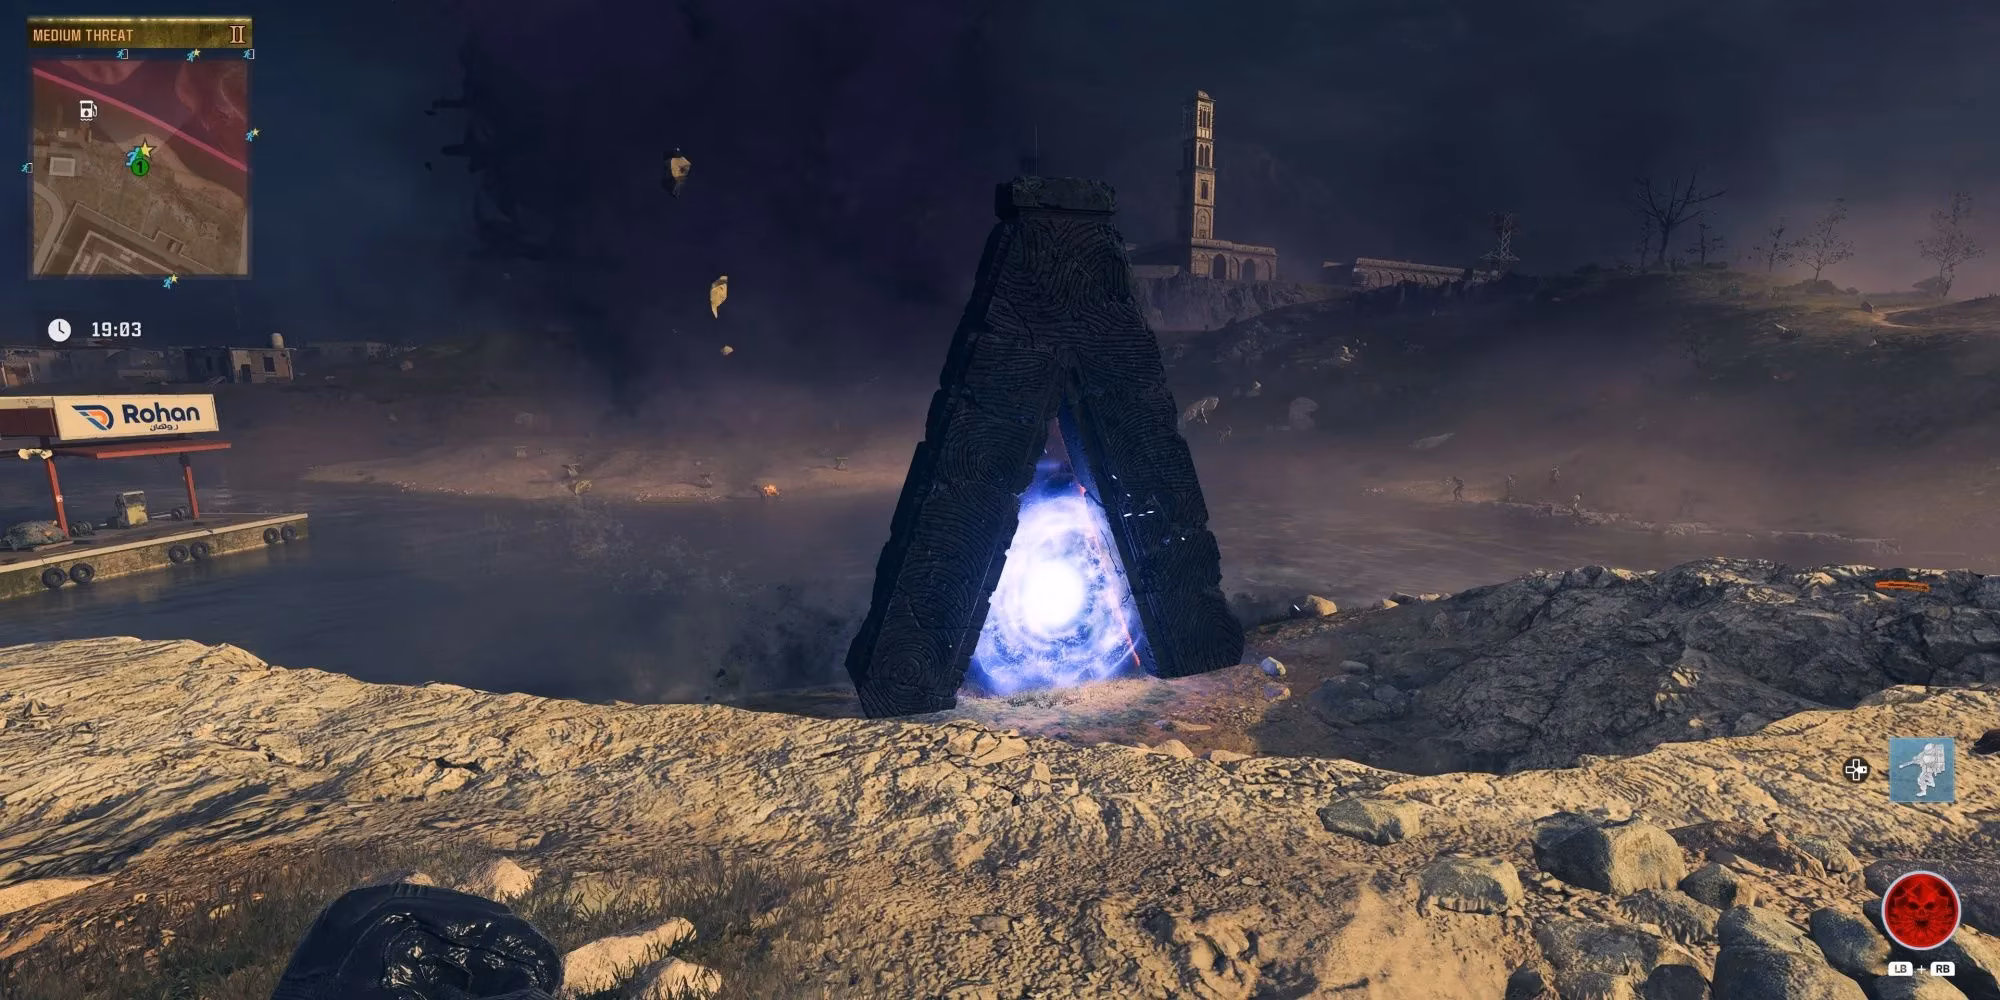
Approach the portal and interact. A democratic, if tense, moment follows: a majority vote from your squad is required to launch the mission. Even a solo player must cast this vote via the map screen. Once the vote passes, your team is instantly ripped from Urzikstan and deposited into a hauntingly familiar yet corrupted location: a zombified version of Al Bagra Fortress. This twisted echo of an Al Mazrah landmark is where your objectives begin, and your navigational aids end—the minimap here is utterly useless.
Breaking the Seals of Containment
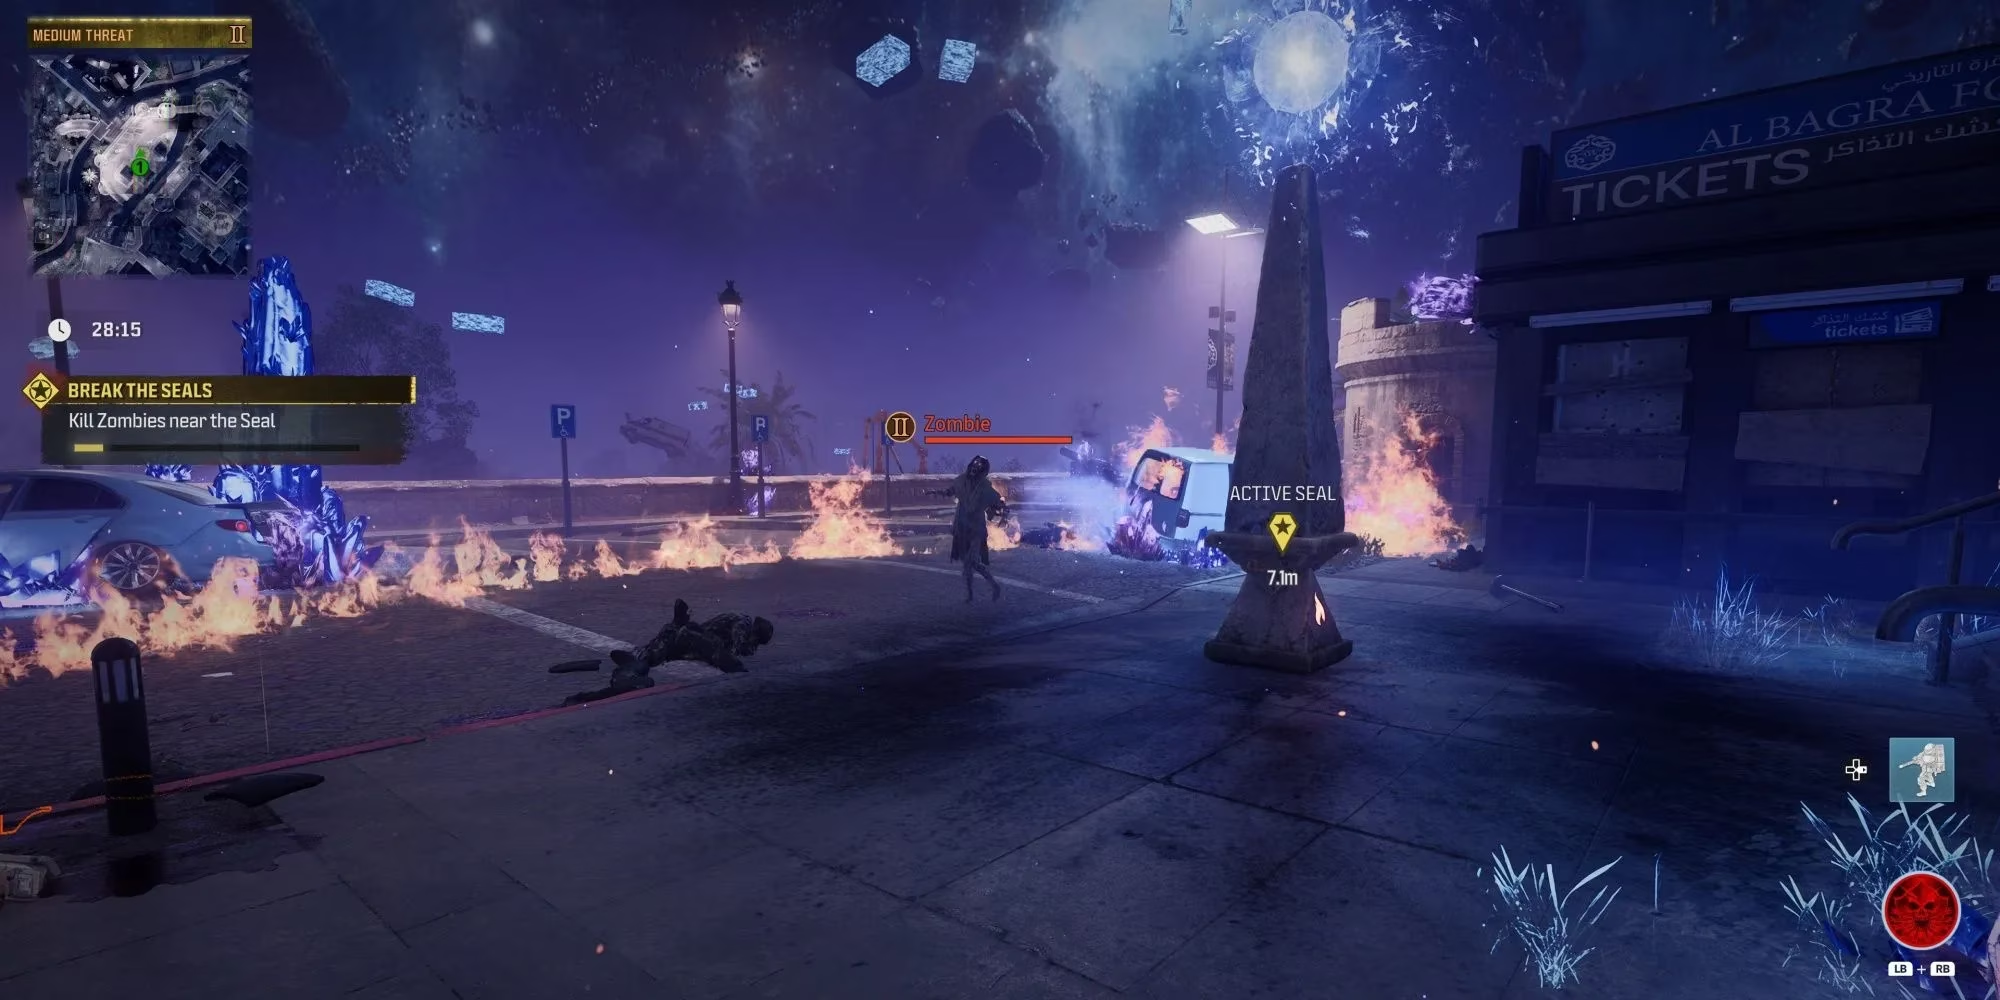
Your HUD will clearly mark four objective locations. Your goal is simple in description but chaotic in execution: destroy the four Aether seals. Each seal, when activated, projects a large elemental ring. The task? Eliminate every zombie that wanders into this radius to charge the seal. Fully charging it causes the seal to shatter.
This is where strategy overtakes brute force. Simply shooting every zombie that approaches is inefficient. This is the perfect moment to deploy those Decoy Grenades or Cymbal Monkeys to lure hordes into the circle, or use Kazimir Grenades to vacuum them into a singularity for easy cleanup. Coordination is vital—having one player kite zombies while others focus fire can turn a chaotic mess into a smooth, systematic process. Remember, the faster you break the seals, the more resources you'll have for the true test that follows.
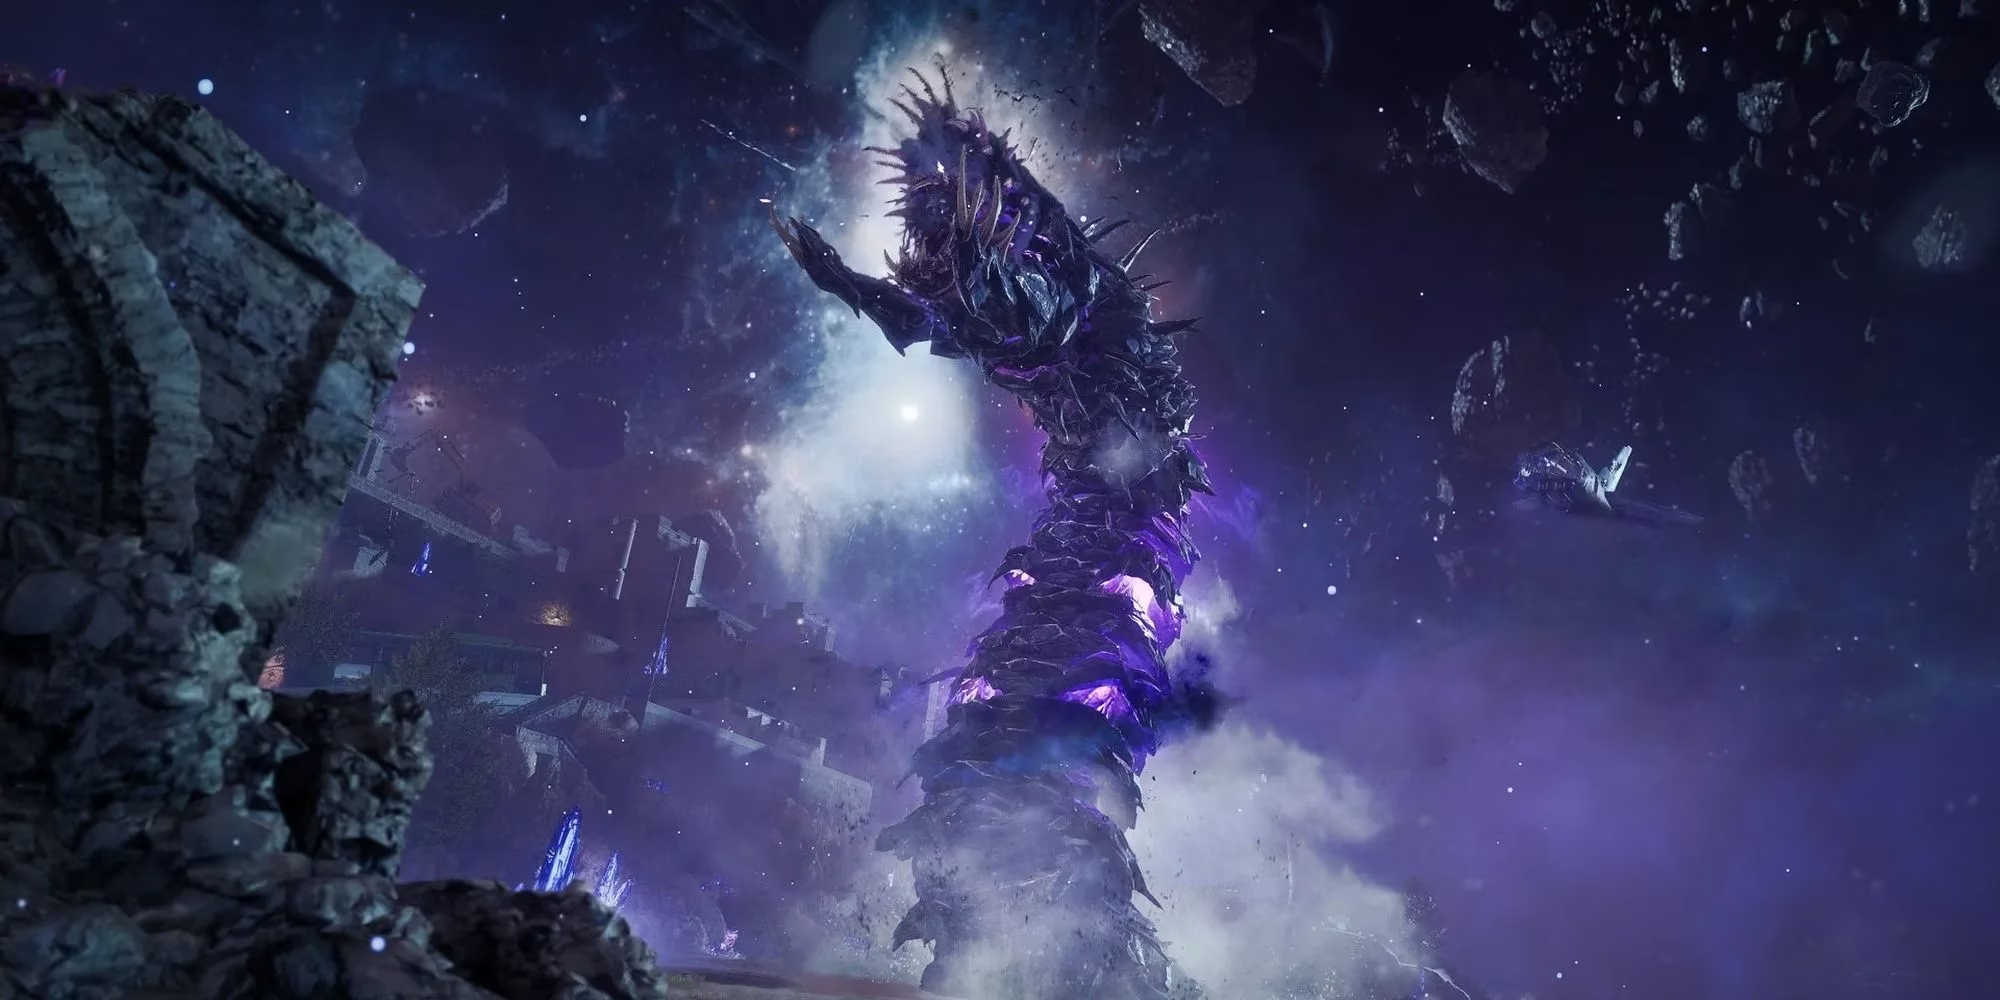
The Final Confrontation: Gorm'gant
With the seals broken, the atmosphere shifts. The path to extraction is now guarded by the mission's climax: the Gorm'gant worm boss. Before rushing in, use this brief respite wisely. Scavenge every armor plate and circuit board you can find. These circuits are not junk; they are the keys to activating powerful automated turrets placed around the arena, which can turn the tide of the battle.
As you approach the final Aether portal on the shore, the ground will tremble, and Gorm'gant will erupt from the earth. For veterans of the "Defeat Zakhaev" mission, its moveset will be terrifyingly familiar, as it mirrors the Orcus worm. Its arsenal is designed to punish the unprepared:
-
Slam Attack: A devastating ground pound. A direct hit results in the worm swallowing you and unceremoniously spitting you back out.
-
Laser Beam: A precise, high-damage beam that will instantly down any operator it touches.
-
Burrow & Erupt: The worm will dive underground only to reemerge beneath players, launching them into the air.
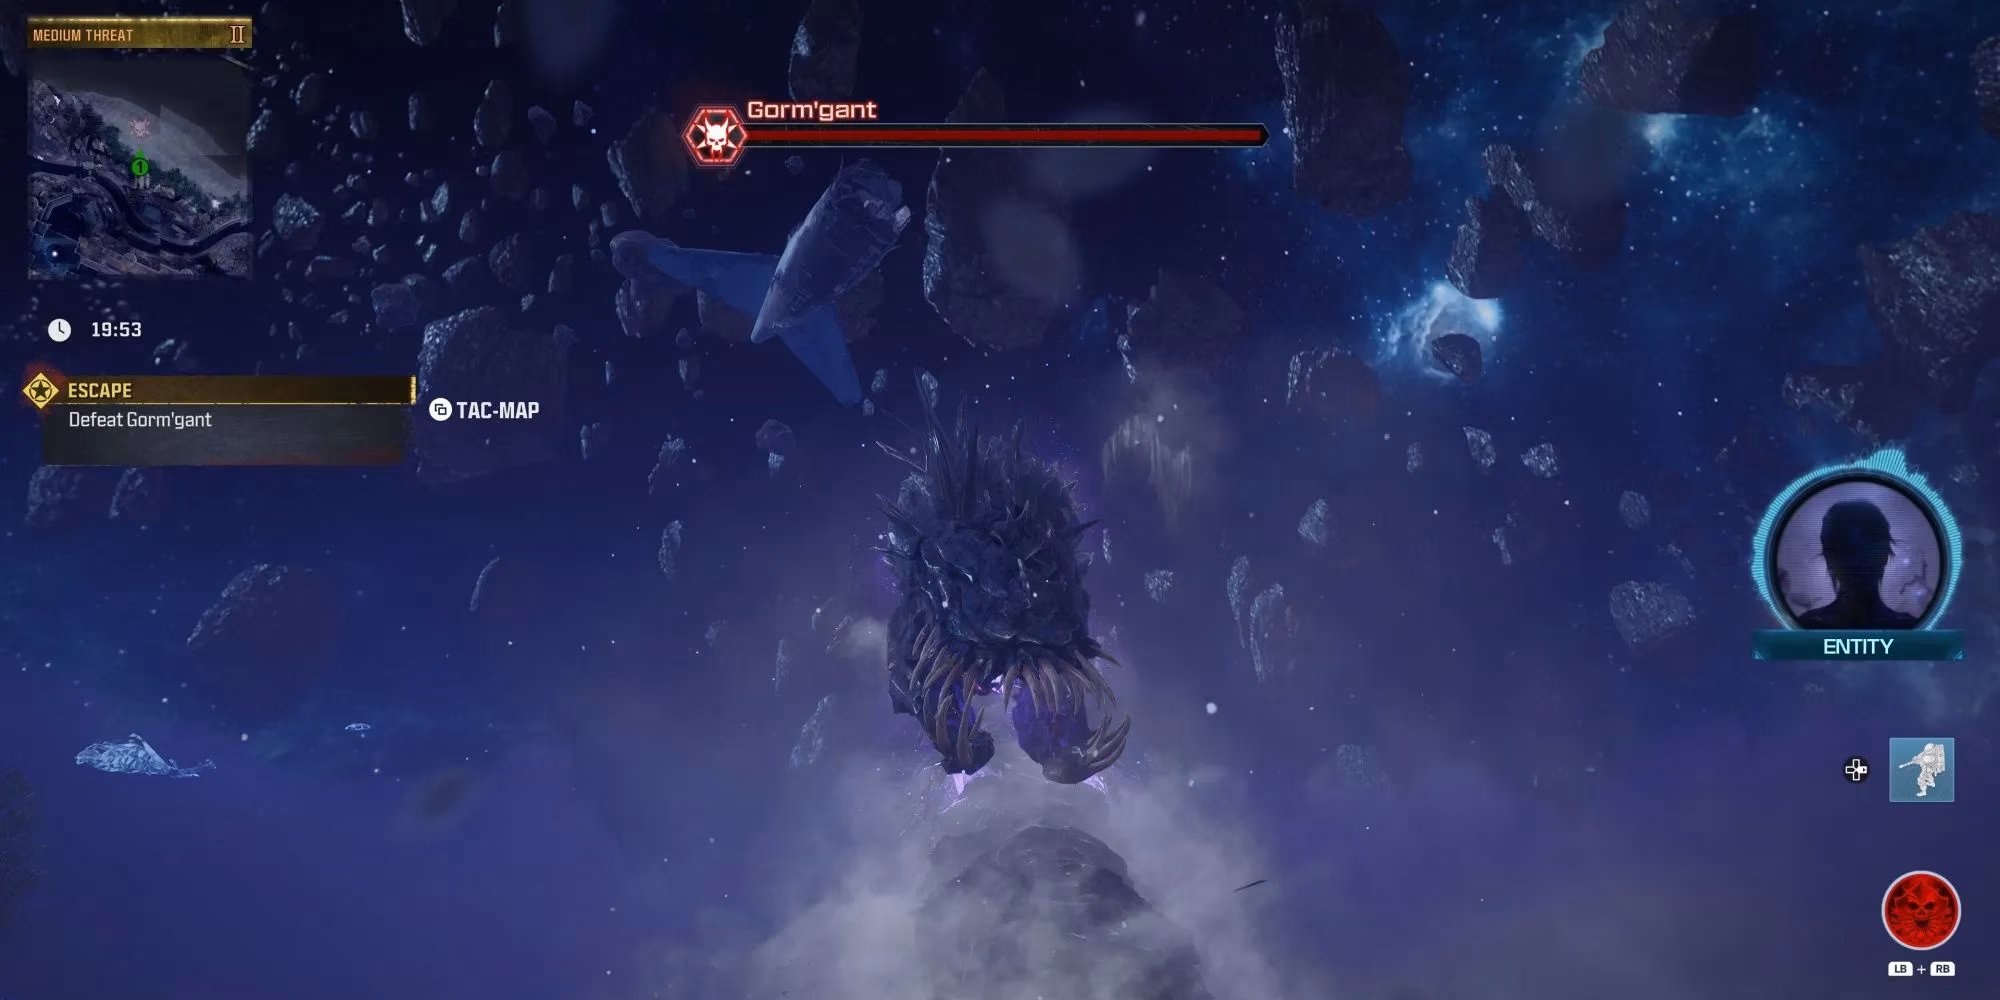
So, how does one slay such a beast? The strategy is twofold: positioning and targeting. Fighting from a nearby rooftop can negate most of its melee attacks, providing a crucial safe haven. However, stray too far from the shore, and the worm will retreat, wasting precious time. The key to dealing damage lies in its glowing, pulsating scales along its body. These are its weak points. Sustained fire on these spots will cause them to explode, dealing massive critical damage. Is the fight dragging on and ammo running low? Don't panic—an ammo cache is strategically placed near the shore for resupply.
The battle is a marathon, not a sprint. Focus fire on the weak points, use the turrets, manage your positioning, and communicate constantly. When the final scale explodes and Gorm'gant collapses, your reward is more than just completion—it's access to the Dark Aether's riches and the satisfaction of conquering one of MWZ's toughest challenges. The portal home awaits, a beacon of triumph in the chaotic dark.